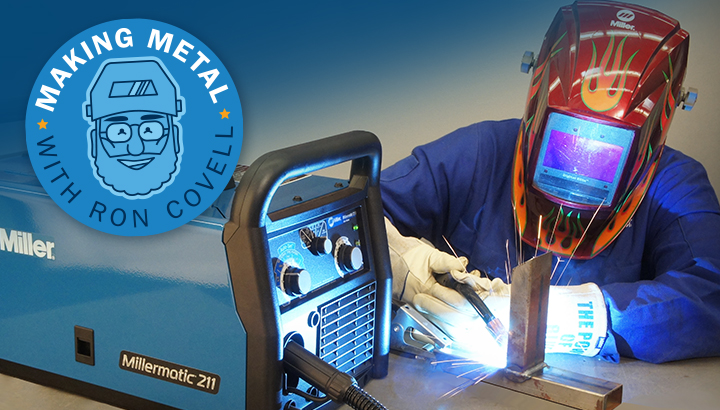
To use a MIG welder as a beginner, start by setting up the welder with the proper voltage and wire feed speed. Next, practice maintaining a steady hand at the right distance and angle to the joint.
Mastering MIG welding involves a blend of knowledge and skill. It requires understanding the equipment and the principles behind its operation. Beginners must learn to select the right type of gas and wire for their project, ensuring a strong and clean weld.
Safety is paramount, so wearing appropriate protective gear, like gloves and a welding helmet, is crucial. As a novice, getting comfortable with the basics, such as loading the welding wire and adjusting the settings for different thicknesses of metal, lays a foundation for more advanced techniques. With consistent practice, you can quickly go from practicing simple beads to tackling actual projects. Remember, the key to proficiency in MIG welding is patience and continuous hands-on experience.

Credit: www.millerwelds.com
1. Safety Precautions
Welding is an exciting skill to learn. But before striking an arc, understanding and applying proper safety measures is crucial. Safety is paramount to avoid accidents or long-term health risks. With the right precautions, beginners can enjoy welding while staying safe.
1.1 Safety Gear
Before any welding begins, gear up. Your safety gear is your first line of defense. Here’s what you need:
- Helmet: A must-have to protect eyes and face from sparks and UV rays.
- Gloves: Heat-resistant gloves to keep your hands safe.
- Jacket: A flame-resistant jacket prevents burns on your arms and torso.
- Boots: High-top leather boots shield your feet from hot metal.
- Ear protection: Muffling loud sounds preserves hearing.
1.2 Workspace Preparation
Create a safe workspace to reduce risks. Follow these tips:
- Clutter-Free: Keep your area free from unnecessary items.
- Ventilation: Ensure fresh air circulation to avoid fume buildup.
- Fire Safety: Have a fire extinguisher within easy reach.
- Inspection: Check all equipment before use.
Setting up proper lighting is also key. It helps you weld with precision and safety.
| Item | Description |
|---|---|
| Workspace | Clean and spacious |
| Ventilation | Adequate for fume extraction |
| Lighting | Bright enough for detailed work |
| Fire Extinguisher | Fully charged and within reach |
Remember, taking safety precautions is not just a suggestion, it’s a necessity. Always gear up, prepare your workspace, and you’re set to begin your MIG welding journey securely!

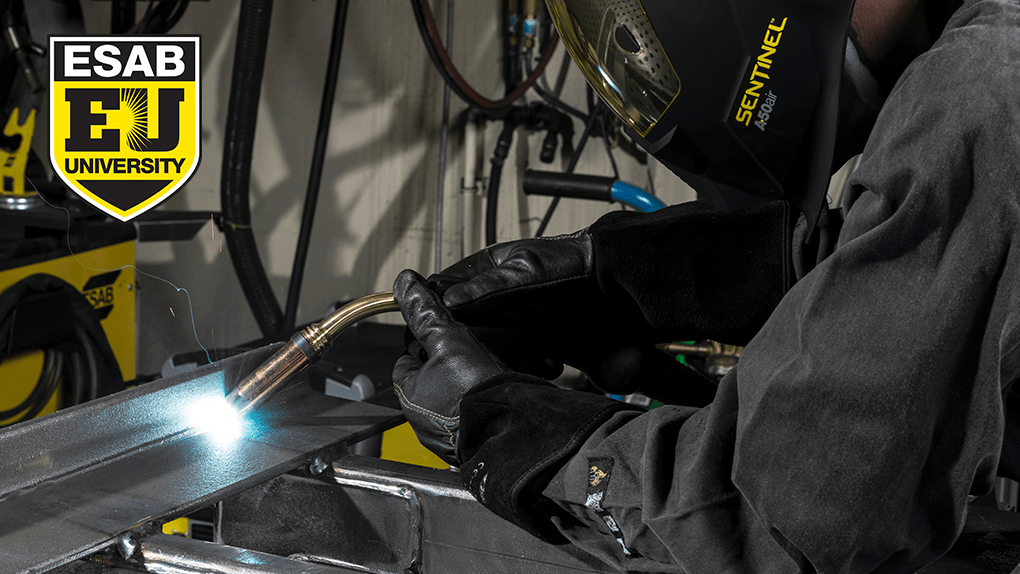
Credit: esab.com
2. Understanding The Equipment
Before diving into MIG welding, grasp the basics of your equipment. Familiarize yourself with each part and how to set up the machine properly. Doing so ensures safe and efficient welding.
2.1 Parts Of A Mig Welder
Knowing your MIG welder’s components is crucial. Let’s break them down:
- Welding Gun: The tool you hold to weld.
- Power Source: This powers the welder.
- Wire Feed Unit: Feeds the welding wire from the spool.
- Ground Clamp: Completes the electric circuit.
- Gas Regulator: Controls the flow of shielding gas.
- Welding Wire: The filler material used in the weld.
2.2 Setting Up The Machine
Setting up your MIG welder is simple. Follow these easy steps:
- Connect the power source.
- Attach the grounding clamp to your workpiece.
- Load the welding wire onto the feed unit.
- Set the correct tension on the wire spool.
- Adjust the gas regulator to the right flow rate.
Double-check all connections for safety before starting.
3. Material And Wire Selection
Embarking on your MIG welding journey starts with the basics. Picking the right materials and wire can make all the difference. It is important to understand the metals and wires you will be working with. Let’s dive into these essentials.
3.1 Understanding Metal Properties
Different metals have unique properties. You must know these before starting your weld.
- Thickness: This affects how much heat is necessary.
- Conductivity: It informs the power settings on your welder.
- Type: Knowing whether you’re working with steel, aluminum, or another metal dictates technique and equipment.
3.2 Choosing The Right Wire
Select a wire compatible with the metal you are welding.
| Metal Type | Wire Type |
|---|---|
| Carbon Steel | ER70S-6 |
| Stainless Steel | ER308L |
| Aluminum | ER4043 |
Remember to match the wire size to your welder’s capabilities and the thickness of the metal.
4. Setting The Correct Parameters
Stepping into the world of MIG welding, mastering the art of setting correct parameters is crucial. This section will guide beginners through the essential settings, helping forge strong, durable welds with confidence. From wire speed to voltage, these settings shape your welding success.
4.1 Wire Speed
Think of wire speed as the pace at which your welding wire feeds into the weld pool. It’s fundamental to achieving a steady, even arc. Set the speed too slow, and the wire stutters; too fast, and it causes overspill.
- Start with a moderate speed – it’s easier to adjust from there.
- Use the chart on your welder as a reference point.
- Run a test bead and observe.
- Adjust incrementally until the bead appears uniform.
4.2 Voltage Settings
Voltage influences the arc’s width and the depth of the weld. Correct voltage ensures a stable arc and proper penetration.
| Material Thickness | Starting Voltage |
|---|---|
| Thin | Lower Voltage |
| Thick | Higher Voltage |
Adjust your voltage based on the above simple criteria. Remember, the right setting varies with material and thickness. It may take some practice to perfect.
- Select a voltage setting from the welder’s chart.
- Test weld on scrap material of similar thickness.
- Look for a smooth, even arc.
- Adjust as needed for optimal results.
5. Basic Welding Techniques
Mastering the art of MIG welding starts with understanding the fundamentals. Beginners need to learn the right techniques to produce strong, clean welds. Let’s dive into some basic welding techniques that every novice should know.
5.1 Proper Hand Position
Maintaining a steady hand is crucial in MIG welding. A strong, comfortable grip on the welding gun will help you control the weld pool precisely. Let’s break this down:
- Support your hand: Place it on a solid surface.
- Hold the gun: Like a pencil for better maneuverability.
- Rest your elbow: It helps in stabilizing your arm.
5.2 Maintaining A Consistent Welding Speed
Welding at a consistent pace is key for a uniform weld bead. Varying speeds can lead to uneven welds or defects.
Signs of a good speed:
| Too Slow | Ideal | Too Fast |
|---|---|---|
| Bulging Weld | Smooth, Even Bead | Thin, Incomplete Bead |
Practicing with scrap metal can help you find the speed that works best.
6. Troubleshooting Common Issues
Welcome to the troubleshooting guide for beginner MIG welders. Even with careful setup and operation, you may encounter problems. Here’s how to identify and resolve common issues. The right knowledge can turn a frustrating experience into a quick fix.
6.1 Welding Spatter
Welding spatter presents as small droplets around your weld. It happens when molten material splashes during the welding process. This can mar the finish of your project and even damage the welding equipment. Let’s tackle this issue.
- Check gas flow: Insufficient shielding gas flow can cause spatter. Ensure your gas flow rates are between 20-25 cubic feet per hour.
- Wire feed speed: Adjust your speed. Too fast or slow can both contribute to spatter.
- Correct polarity: Confirm correct setup for your welding wire. Inappropriate polarity leads to increased spatter.
Regularly clean nozzle tips and use anti-spatter spray to minimize future occurrences.
6.2 Irregular Bead Shape
An irregular bead shape might indicate a few possible problems. Your weld should be consistent and even. Here’s what to look for if it’s not:
- Travel speed: Moving too fast or too slow can distort the weld bead’s shape. Aim for a steady, moderate pace.
- Steady hand: Maintain a stable hand position. Shaky movements lead to uneven beads.
- Proper technique: Watch angle and distance from the workpiece. Keep your welding gun at about 15 degrees and consistently close to the metal.
Practice makes perfect. Make test welds on scrap metal to adjust your technique before beginning your main project.
7. Practice Exercises For Beginners
MIG welding mastery starts with practice. Use these beginner-friendly exercises to refine your skills. Start with basic joints; they form the foundation of more complex welding techniques.
7.1 Welding Butt Joints
Butt joints connect two flat pieces end-to-end. To practice:
- Prepare your materials: Clean and align two metal pieces.
- Set your MIG welder: Adjust voltage and wire speed.
- Weld along the seam: Keep the gun steady and move at a consistent speed.
- Inspect: Look for even beads and good penetration.
7.2 Welding Lap Joints
Lap joints bond two pieces that overlap. Steps include:
- Setup: Place one metal sheet over another.
- Welder settings: Again, set the right voltage and wire feed.
- Technique: Aim at the joint’s edge and move in a straight line.
- Review: Check for consistency and no burn-through.
Keep practicing these exercises. Steady hands and focused eyes lead to better welding.
8. Understanding Welding Symbols
Understanding welding symbols is like reading a secret language. It guides you on where and how to weld. Grasping these symbols is crucial for precision and quality. Let’s dive into this language step-by-step.
8.1 Interpretation Of Welding Symbols
Welding symbols consist of a reference line, an arrow, and a tail. Often confusing, these symbols tell a welder what type of joint to make. They also show the size and length of the weld.
Here’s a breakdown:
- Reference Line: This main horizontal line is the anchor to all other parts.
- Arrow: Points to the joint where the weld should happen.
- Tail: The tail often includes supplementary information or specifications.
| Symbol | Meaning |
|---|---|
| | | Fillet Weld |
| \|\| | Double Fillet Weld |
| \= | Flush Fillet Weld |
8.2 Application On Workpieces
Now that you know the symbols, it’s time to apply them. First, locate the joint needing a weld. Next, use the symbols as a guide. Finally, adjust your welder settings and technique to match.
Remember these tips:
- Check the symbol against your project plans.
- Prepare your materials as indicated.
- Set your MIG welder according to the spec.
By knowing these steps, you make the weld strong and accurate. Practice on scrap metal before your main project. This helps fine-tune your skills without risk.
9. Post-welding Cleanup And Inspection
Once your welding task concludes, the final step involves a thorough cleanup and inspection. This step ensures your work is clean, safe, and up to standards. Dive into the fine details of removing slag and assessing the weld’s quality.
9.1 Removing Welding Slag
The first step is slag removal. Slag is a byproduct that forms on the weld as it cools. It must be chipped off to reveal the actual weld underneath. Use a welding hammer or a slag removal tool for this task. Gently tap along the weld seam and the slag will begin to chip away. Always wear protective gloves and glasses to shield yourself from sharp fragments.
9.2 Visual Inspection Of The Weld
- Check the weld’s appearance
- Look for cracks or holes
- Ensure the weld is even and consistent
After removing the slag, closely inspect your weld. Visual inspection plays a vital role in ensuring quality. Look for smoothness and uniformity across the entire weld. Any irregularities might require rework or additional welding. Remember, a good weld should have no cracks, pores, or visible defects.
10. Advancing Your Welding Skills
As a beginner in MIG welding, mastering the basics unlocks a world of possibilities. You’ve got the fundamentals down, and now it’s time to step up your game. Building on your initial knowledge is key to becoming a skilled welder. This section delves into techniques like tack welding, vertical, and overhead welding. Each skill will enhance your welding capabilities and open doors to more complex projects.
10.1 Tack Welding
Tack welding is a crucial step toward accuracy and precision in larger projects. Think of it as laying down the foundation. It involves creating small welds that hold your materials in place before you perform the final welding. Here are simple steps to follow:
- Align your workpieces in the desired position.
- Apply short bursts of weld at several points along the joint.
- Inspect the tacks to ensure they are strong and the pieces are correctly aligned.
Tack welding helps prevent warping and maintains alignment during the main weld. It’s a beginner-friendly technique that greatly improves the consistency of your work.
10.2 Vertical And Overhead Welding
Vertical and overhead welding presents a new set of challenges. These positions require a good grip on welder control and body positioning. Start with these tips:
- Practice on scrap material to build confidence.
- Adjust welder settings to accommodate gravity’s effect on the weld pool.
- Move the torch steadily and watch the weld puddle closely.
With vertical welding, focus on the upward or downward technique. For overhead welding, ensure safety protocols are followed as molten metal can drop.
| Position | Technique | Safety Tip |
|---|---|---|
| Vertical | Use stringer or weave beads | Check for secure footing |
| Overhead | Keep the arc short | Wear protective headgear |
By practicing these advanced techniques, you’ll enhance your craftsmanship and take on more complex welding tasks with ease.

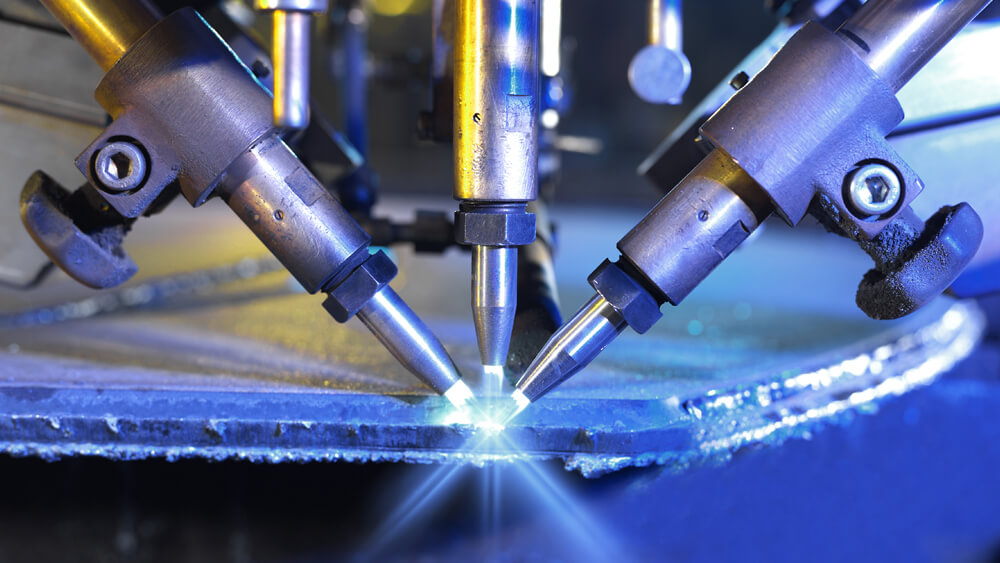
Credit: esab.com
Frequently Asked Questions For How Do You Use A Mig Welder For Beginners
What Is Mig Welding For Beginners?
MIG welding, or Metal Inert Gas welding, is a method where an electric arc forms between a consumable wire electrode and the workpiece metal. This process heats and joins pieces, ideal for beginners due to its simplicity and versatility.
How Do You Set Up A Mig Welder?
To set up a MIG welder, start by safely positioning the welder and grounding it. Load the welding wire and adjust tension as needed. Connect the gas supply, select the appropriate settings for voltage and wire speed, and perform a test weld on scrap metal.
What Safety Gear Is Needed For Mig Welding?
For MIG welding, essential safety gear includes a welding helmet with proper shading, fire-resistant clothing, welding gloves, safety glasses, and ear protection. Ensure a well-ventilated workspace to avoid inhaling fumes.
Can Mig Welding Be Self-taught?
Yes, MIG welding can be self-taught with proper guidance and practice. Beginners should start with understanding safety procedures and equipment setup, gradually working on simple welding projects to build skills.
Conclusion
Embracing the art of MIG welding opens up a world of DIY projects and repair possibilities. With practice, mastering the MIG welder will become second nature. Remember to prioritize safety, set up your equipment correctly, and be patient with your learning curve.
Happy welding, and let those creative metal works begin!
