
To MIG weld an exhaust pipe, begin by cleaning the surfaces and then tack weld to set the pieces in place. Adjust your welder settings for the pipe’s metal type and thickness, wearing appropriate safety gear for protection.
MIG welding, also known as Gas Metal Arc Welding (GMAW), is a popular method for joining exhaust pipes due to its speed and efficiency. It is essential to have clean, rust-free surfaces for a strong weld. Before starting, select the correct wire and gas mixture; typically, a combination of argon and carbon dioxide is ideal for steel exhaust pipes.
Ensure your workspace is well-ventilated and you have proper safety equipment like gloves and a welding helmet. Setting up the welder correctly to match the metal being welded is crucial to avoid burn-through. Skillful MIG welding requires steady hand movements and paying close attention to the weld pool for consistent, high-quality joins. Mastery in this technique ensures strong, leak-free exhaust welds ideal for automotive repairs or custom exhaust systems.
Safety Precautions
Working on exhaust pipes with MIG welding requires strict safety measures. To prevent injuries and ensure a safe welding environment, following proper safety precautions is a must. In this section, we’ll delve into the essentials of protective gear and work area preparation.
Protective Gear
Before starting your MIG welding project, suit up with the right protective gear. At the core is a welding helmet for shielding your eyes and face from hazardous rays and sparks. Make sure it’s equipped with the correct shade number for MIG welding. Wear gloves specifically designed for welding to protect your hands from heat, sparks, and electricity. A leather apron or welding jacket adds an extra layer of safety, guarding your body against spatter and burns. Never overlook the importance of high-top leather boots; they shield your feet, keeping them safe from falling objects and molten metal. Ensure all clothing is flame-resistant.
Work Area Preparation
Preparing your work area is just as critical as donning the right gear. Keep the welding space free of clutter and combustible materials. Secure all flammable liquids in a safe location. A fire extinguisher should be close at hand and fully operational, ready for any unexpected flames. Make sure there is adequate ventilation to prevent the accumulation of harmful fumes. A welding curtain is advantageous, helping to contain sparks and protect bystanders from the intense light of the welding arc.
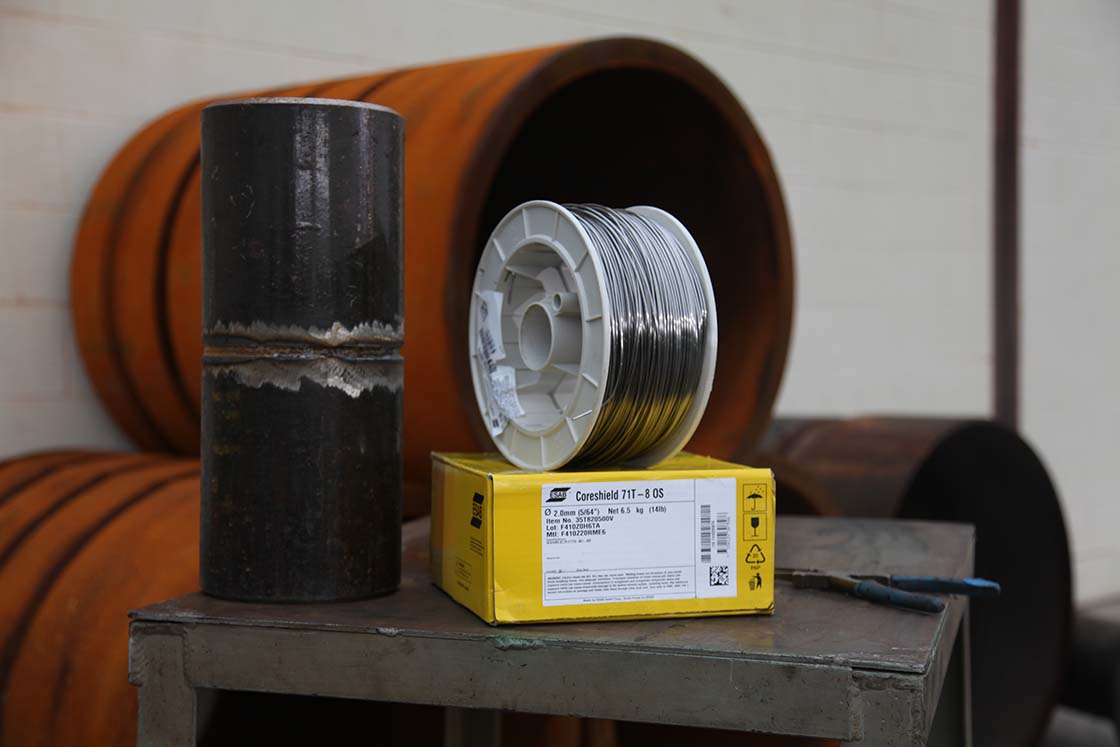
Credit: esab.com
Selecting The Right Equipment
Selecting the Right Equipment is a crucial step in successfully MIG welding an exhaust pipe. Quality welds depend on the right combination of a MIG welder, shielding gas, and consumables. Below are insights into choosing equipment that meets the unique demands of exhaust pipe welding.
Mig Welder
Using the correct MIG welder makes all the difference. Start with a welder that can handle the gauge of metal typically used for exhaust pipes, which is usually relatively thin. Look for a machine offering a stable arc, easy-to-control heat settings, and compatibility with various metals.
Shielding Gas
Shielding gas protects the weld from contaminants. For exhaust welding, a mix of Argon and Carbon Dioxide is ideal. This mix creates fewer spatters, produces cleaner welds, and is suitable for thin materials. Consider a ratio of 75/25 – 75% Argon and 25% Carbon Dioxide.
Consumables
- Wire: A small diameter wire, like .023 inches, works well on thin metal.
- Tips: Ensure they match the wire size for a smoother feed.
- Nozzle: A clean nozzle ensures better gas flow and protects the weld.
Preparing The Exhaust Pipe
Welding an exhaust pipe requires precision and care. The process begins long before you strike an arc. Proper preparation sets the groundwork for a strong, leak-free weld. Here, you’ll learn the steps to get your exhaust pipe ready for MIG welding.
Cleaning The Surface
Cleanliness is crucial for a successful weld. Dirt, grease, and rust on the exhaust pipe can contaminate your weld, leading to poor quality and durability. Follow these steps for a pristine surface:
- Remove surface contaminants using a degreaser.
- Scrub the welding areas with a wire brush.
- Wipe down with a clean cloth.
- Use sandpaper for removing any remaining rust.
A spotless surface ensures strong welds and long-lasting repairs. Take your time on this step; it’s the backbone of quality MIG welding.
Securing The Pipe For Welding
To hold the exhaust pipe in place, you need a stable setup. This prevents movement and allows for accurate welds. Use these tips:
- Position the pipe on welding stands.
- Adjust the height and angle for comfort and access.
- Use clamps or jigs to secure the pipe.
- Check alignment and fitment before welding.
With the exhaust pipe securely fixed, you’re all set for high-quality MIG welding. Steady positioning helps ensure a clean, uniform weld bead.
Setting Up The Welder
Initiating your MIG welding journey for an exhaust pipe starts with the critical step of setting up the welder. Proper setup ensures a strong, durable weld. Let’s dive into the adjustments, settings, and the right wire for the task.
Adjustments And Settings
To begin, turn on the welder and set the power to match the thickness of your exhaust pipe. A low to medium setting generally works best for thin metals.
Adjust the gas flow next. Shielding gas protects the weld from contaminants. For exhaust pipes, aim for 15-20 cubic feet per hour.
Dialing in the wire feed speed is crucial. Start with a recommended setting and fine-tune as you practice.
Choosing The Right Wire
The correct wire is key for a clean weld. For exhaust repairs, ER70S-6 wire is a popular choice. It’s versatile and delivers a smooth bead.
A thinner wire, like 0.023 inches, works well with the delicate nature of exhaust materials. It melds metal without burning through.
Selecting a spool size should align with your project size. Smaller projects can use a 2-pound spool, while more extensive repairs might need a 10-pound.
| Wire Type | Diameter | Recommended Use |
|---|---|---|
| ER70S-6 | 0.023″ | Exhaust Pipe Welding |
Welding Technique
Mastering the art of MIG welding an exhaust pipe hinges on technique. Proper welding technique ensures a strong bond and airtight seal. This vital aspect of exhaust repair or customization can withstand the high-temperature environment beneath a vehicle. Now, let’s look closely at the ideal position for welding and how to manage heat and speed effectively.
Ideal Welding Position
A good welding position is key to a perfect seam. Position the exhaust pipe so that it’s stable and accessible. Aim for a horizontal welding position when possible. This makes it easier to control the weld pool. Use welding clamps to secure the pipe. If you must weld vertically, start at the top and move downwards. Keep these points in mind:
- Stable surface: Ensure the pipe doesn’t move during welding.
- Comfortable stance: Your stance should allow for steady hand movements.
- 360-degree access: You should be able to weld all around the pipe without obstruction.
Managing Heat And Speed
Control of heat and speed dictates the quality of your MIG weld. If the heat is too high, you risk burning through the pipe. Too slow, and you might create a weak weld. Keep a medium pace with consistent speed. This reduces warping and ensures penetration. Here are tips for managing heat and speed:
| Aspect | Tip |
|---|---|
| Heat | Use short bursts to avoid overheating. |
| Speed | Keep the weld gun moving at a steady rate. |
| Testing | Practice on scrap metal first. |
Maintain a consistent angle with the MIG gun, usually between 10 to 15 degrees. This prevents defects and ensures a strong, clean weld.
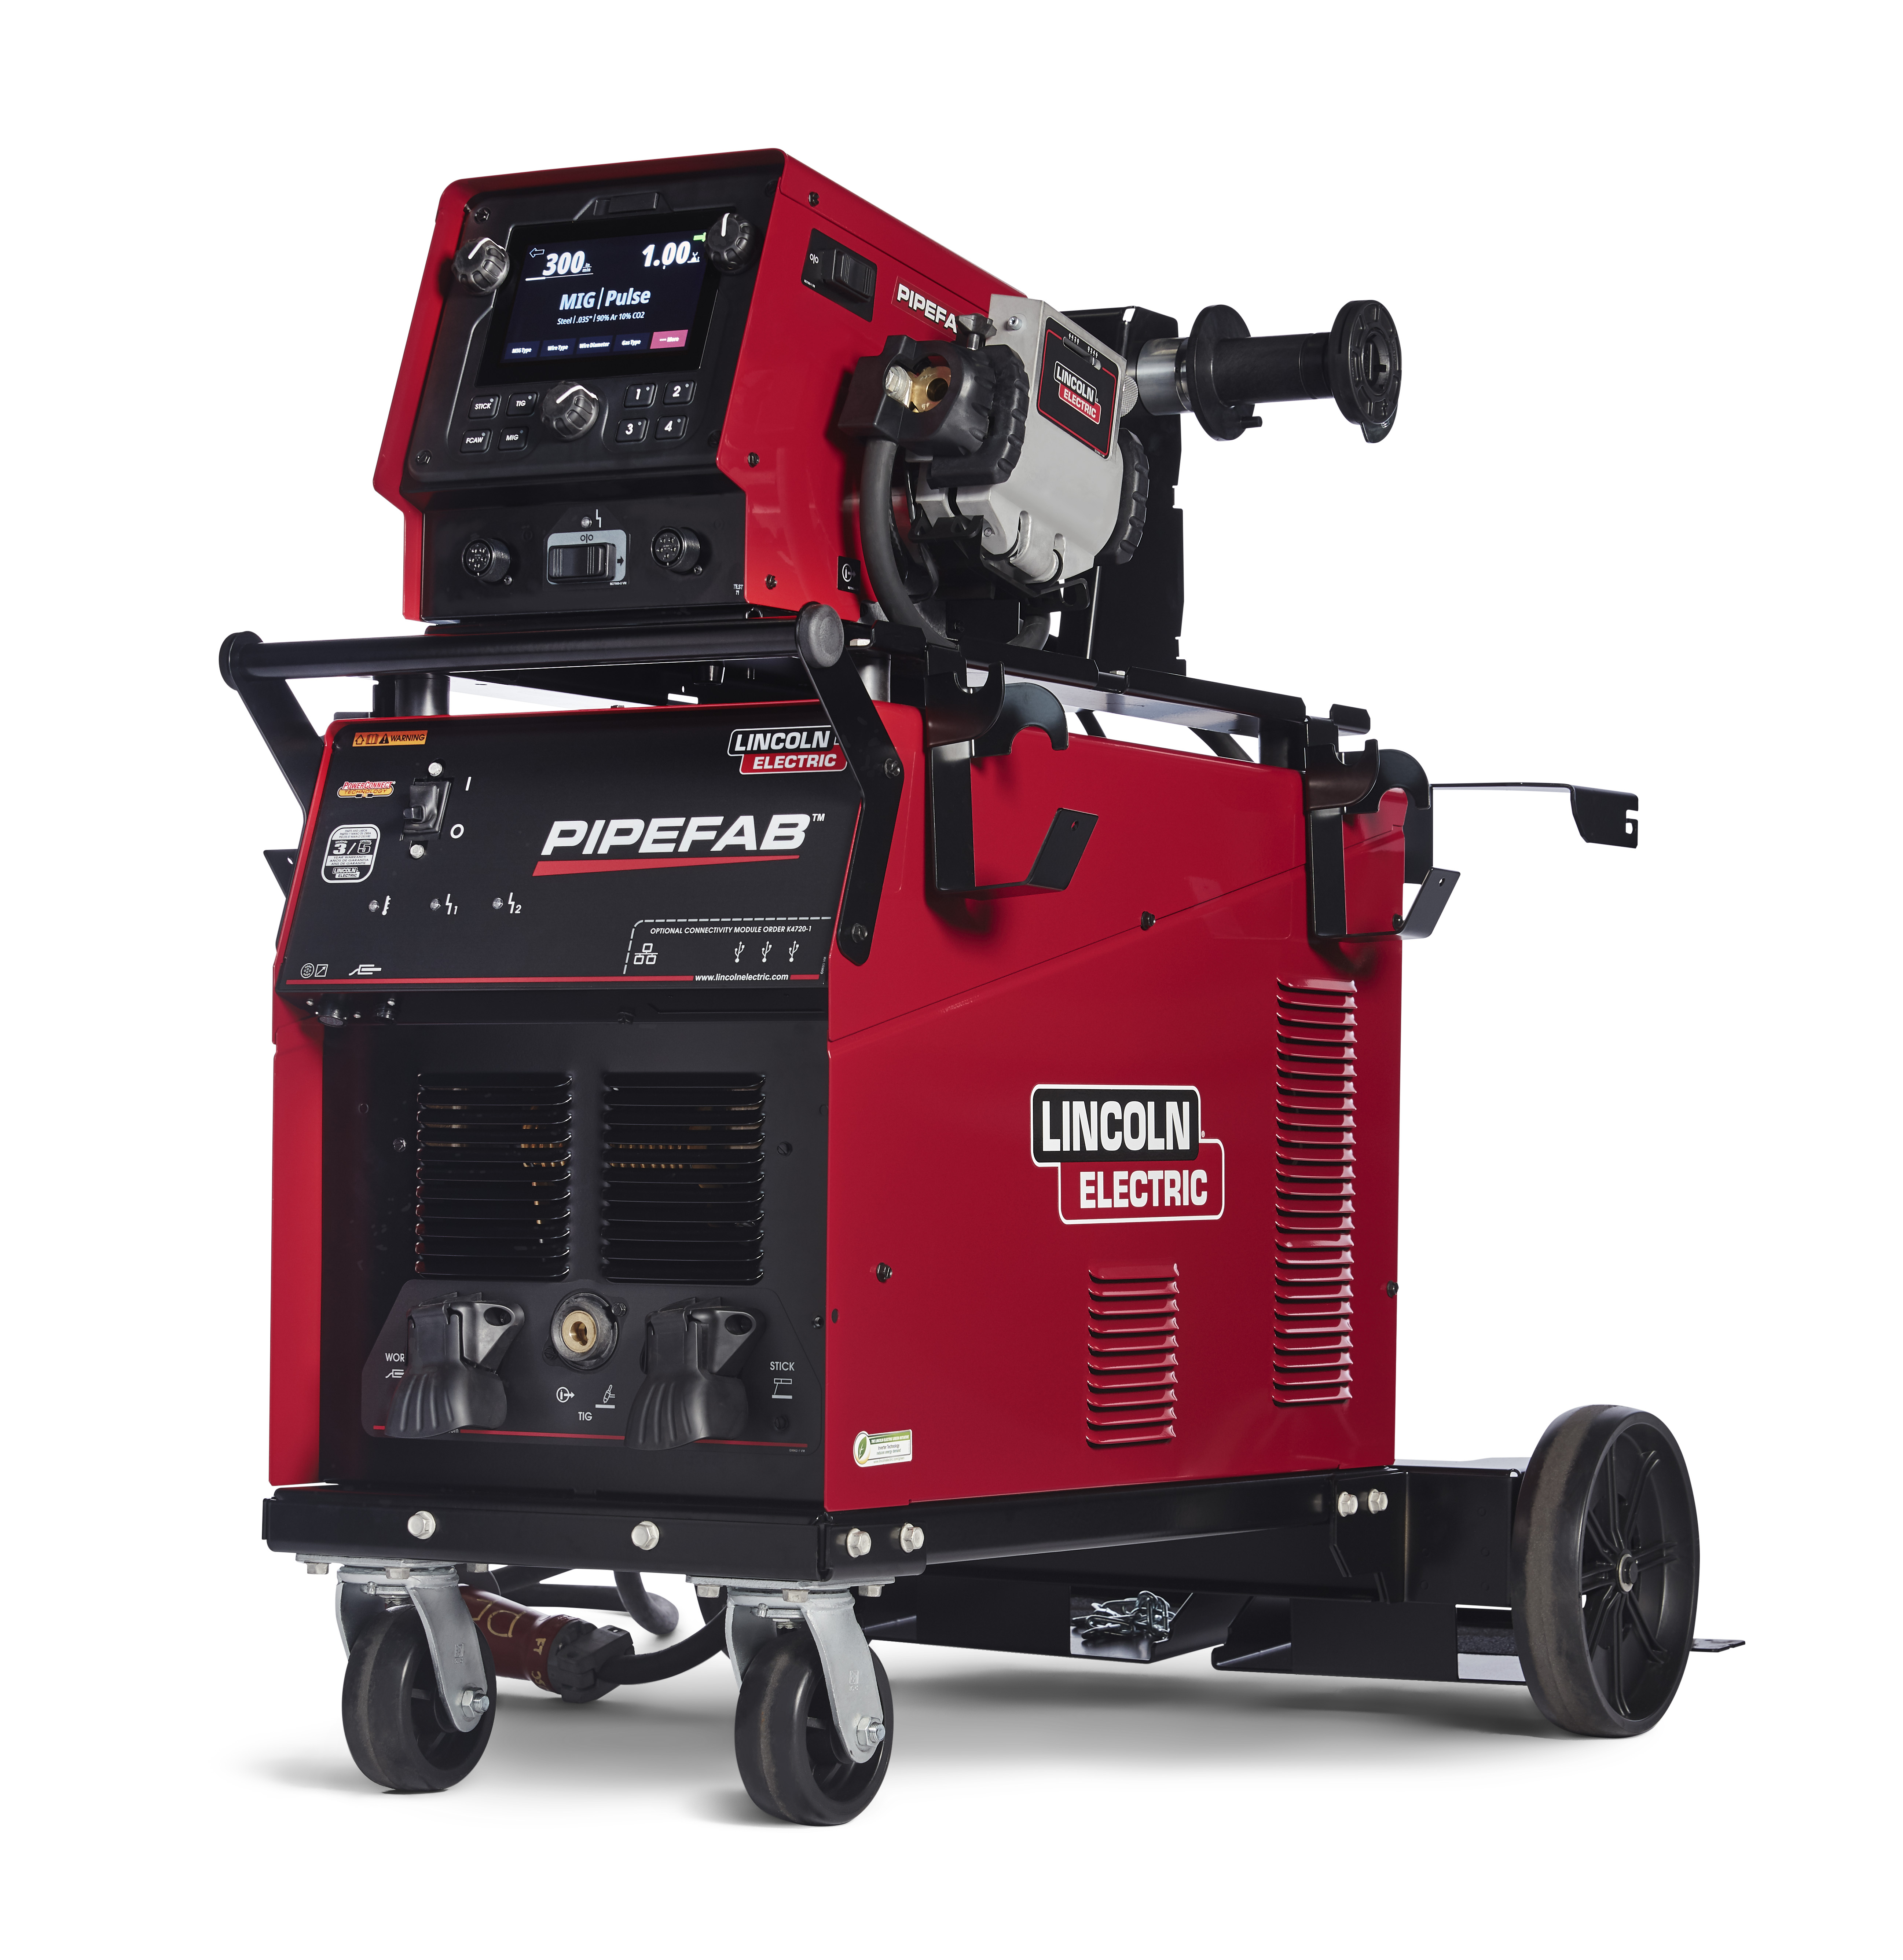
Credit: www.lincolnelectric.com
Welding The Exhaust Pipe
MIG welding an exhaust pipe is a task that requires precision and care. Effective welding ensures durability and performance. Proper technique avoids leaks and ensures smooth exhaust flow. This section guides you through the steps of MIG welding an exhaust pipe.
Starting The Weld
Begin by preparing the welding equipment. Ensure the work area is safe. Clean the pipe surfaces for the weld. Choose the correct wire and gas mixture suited for exhaust materials. Typically, a mix of Argon and CO2 works well. Position the torch at an angle. Start a small tack weld to hold the parts in place. Tack weld at multiple points to avoid misalignment.
Ensuring Proper Penetration
- Check the settings on your MIG welder. The amperage and wire speed must match the pipe’s thickness.
- Weld along the seam with a steady hand. Keep the torch moving to avoid burn-through.
- Use a weaving technique for wider gaps. This method ensures the filler metal covers the entire joint.
- After welding, inspect the seam. Look for uniform beads and no signs of undercutting or porosity.
Post-welding Steps
Post-welding steps are crucial to ensure the durability and safety of your newly welded exhaust pipe. These steps confirm the quality of your work and the readiness of the pipe for use. The right cooling, cleaning, and inspecting are integral to a job well done.
Cooling Period
Allowing the welded area to cool down naturally is essential. Rapid cooling methods can weaken the weld. The environment plays a role in the cooling period duration. Always wait for the metal to cool to room temperature before proceeding.
Cleaning And Inspecting The Weld
Once cool, clean the weld of any slag or splatter using a wire brush. Slag is a byproduct of welding that needs removal for a clear view of the weld. Check for cracks, holes, or inconsistencies. Use a bright light and a magnifying glass for a thorough inspection. Ensure the weld is smooth and uniform, indicating a strong bond.
Keep in mind the following:
- Material integrity – The surrounding metal should not show signs of damage.
- Weld consistency – The bead should be even and consistent along the join.
- No Cracks or Pores – These could lead to leaks and failure.
After cleaning and inspecting, a pressure test ensures the weld is airtight. Applying a soapy water solution along the weld can reveal any escaping air. Bubbles indicate a leak and require re-welding. Complete these post-welding steps for a high-quality, reliable exhaust pipe installation.
Common Mistakes To Avoid
Working on exhaust pipes with MIG welding can be tricky. Beginners and even experienced welders sometimes make mistakes. Let’s dive into what to steer clear of for a perfect weld.
Over-welding
Making too many passes can weaken the weld over time. Each pass adds more heat, which can warp the thin metal of exhaust pipes. Keep your welding to the minimum necessary for a strong, clean joint. Check your welds aren’t bulky or excessively large. A neat bead is usually enough.
Ignoring Gas Flow
Gas flow is crucial in MIG welding. If you get it wrong, you may end up with a porous, weak weld. Ensure your gas flow is set correctly before starting. Most recommend between 20-25 cubic feet per hour for MIG welding. But, always check your welder’s manual. A steady gas flow prevents contaminants and creates a shield around the weld.
| Common Mistake | Consequence | Tip |
|---|---|---|
| Excessive Welding | Weakened welds, warping | Minimal passes, don’t overdo it |
| Incorrect Gas Flow | Porous, weak welds | Check gas flow settings |
Troubleshooting Welding Issues
When working with exhaust pipes, MIG welding offers precision and speed. Yet, issues can arise. Skilled welders know that a perfect weld requires more than just equipment and materials. Common problems like burn-through and incomplete fusion need immediate attention. This section dives into effective solutions for these challenges, ensuring strong, durable welds for your exhaust pipe.
Burn-through
Burn-through happens when the weld penetrates too deeply. This damages the exhaust pipe. To solve burn-through:
- Lower your welding amperage. High heat can create holes.
- Choose the right wire. A thinner wire prevents excessive heat.
- Adjust your speed. Move faster across the metal to avoid overheating.
Practice on scrap metal first. This fine-tunes your settings and technique. Be aware of your torch angle too. A correct angle reduces the risk of burn-through.
| Issue | Action |
|---|---|
| Hole in pipe | Lower amperage and speed up. |
| Excessive penetration | Switch to thinner wire. |
Incomplete Fusion
Incomplete fusion leaves weak spots in the weld. Often, it results from incorrect settings or technique. Tackle incomplete fusion by:
- Checking your equipment. Ensure it’s set up for the pipe’s thickness.
- Cleaning the metal. Remove any dirt or rust.
- Adjusting the welder. Match the speed and power to your pipe.
Good contact between surfaces is crucial. Use clamps to hold the pieces firmly. Always double-check the gas flow rate. It shields the weld from contaminants.
Tips for better fusion:- Maintain a stable arc.
- Use a weaving technique for wider coverage.
- Preheat thicker pipes for better weld penetration.
Finishing And Quality Checks
MIG welding an exhaust pipe demands precision, not just in the welding process, but equally in the finishing and quality checks. Ensuring the durability and safety of the weld is crucial. Finishing the weld seam and conducting quality assessments are steps that cannot be overlooked. Let’s explore how to ace these final stages in MIG welding your exhaust pipe.
Finishing The Weld Seam
After welding, it’s time for finishing touches. A proper finish ensures a strong bond and a smooth surface along the seam. Start with a visual inspection. Look for inconsistencies or spatters.
Next, grab a metal file or grinder. Carefully work along the weld to remove any excess material. Aim for a uniform appearance. Remember to wear safety gear to protect your hands and eyes.
Once you’re satisfied with the grinding, polish the seam. A polishing wheel is perfect for this job. The result should be a sleek, smooth finish that blends seamlessly.
Quality Assessment
Quality assessment is vital for a top-notch job. Begin with a pressure test. This will reveal any leaks along the seam.
- Apply soapy water along the weld.
- Watch for bubbles which indicate leaks.
No bubbles? Great! Move onto a sound check. Listen for any unusual noises that could suggest a crack or hole.
Lastly, the color test can help. Different colors on the weld can signal issues. Consult a welding color chart to decode what the colors mean.
Complete these checks to ensure your exhaust pipe is not only fixed but also roadworthy and safe. Regularly perform inspections for ongoing maintenance.
Specific Considerations For Different Exhaust Materials
Specific Considerations for Different Exhaust Materials play a crucial role in MIG welding. Each material reacts uniquely to heat and requires distinct techniques. Understanding the uniqueness of each material ensures a strong, durable weld. Let’s delve into specifics for the most common exhaust materials – Mild Steel, Stainless Steel, and Aluminized Steel.
Mild Steel
Mild steel is a popular choice due to its cost-effectiveness and weldability. Here are the key points:
- Use a short circuit transfer method.
- Clean thoroughly to prevent contamination.
- Select ER70S-6 wire for its superior properties.
- Set the correct voltage and wire speed for a smooth weld bead.
Stainless Steel
Welding stainless steel requires attention to detail to avoid corrosion:
- Back-purge with argon to protect the backside of the weld.
- Choose a filler like 309L to handle dissimilar metals.
- Maintain low heat to prevent warping and distortion.
- Implement a tri-mix shielding gas to prevent sugaring.
Aluminized Steel
Aluminized steel combines aluminum’s rust resistance with steel’s strength. Remember the following:
- Remove the aluminum coating from the weld area to avoid contamination.
- Employ a lower welding temperature than with mild steel.
- Opt for 100% argon shielding gas for a clean weld.
- Use ER4043 wire for optimum results.
Strength And Durability
Welding an exhaust pipe using MIG (Metal Inert Gas) demands skill and attention to strength and durability. The exhaust system experiences high temperatures and corrosion, factors which can compromise its integrity. Understanding how to maximize the strength and longevity of your weld is crucial. Let’s delve into the critical components that determine the robustness of your MIG-welded exhaust pipe and the techniques to enhance its life span.
Factors Impacting Strength
The strength of a weld on an exhaust pipe depends on several key factors:
- Material Compatibility: Use metals that weld well together for a strong bond.
- Weld Penetration: Adequate penetration ensures strong joints.
- Thickness of the Pipe: Thicker materials can often lead to sturdier welds.
- Welding Technique: Correct techniques are imperative for a robust weld.
- Shielding Gas: A suitable gas mix protects the weld from the environment.
Enhancing Durability
To prolong the life of your MIG-welded exhaust pipe:
- Choose the correct wire and gas combination.
- Clean the metal surface before welding.
- Prevent weld contamination with proper handling.
- Use proper welding speed and current settings.
- Implement post-weld treatments like painting or coating.
Adherence to these steps will significantly boost the durability, ensuring a resilient exhaust system ready to handle the stresses of its environment.
The Impact Of Welding On Exhaust Performance
The Impact of Welding on Exhaust Performance can be profound. A well-executed weld ensures optimal exhaust flow and prevents leaks, which are crucial for the exhaust system’s efficiency. Learning how to MIG weld an exhaust pipe can thus benefit overall vehicle performance.
Flow Restriction
Flow restriction in an exhaust system can spell trouble for a vehicle’s performance. Ideal welding practices aim to minimize any impediments to the exhaust gases’ path.
- A smooth weld reduces backpressure.
- Excessive backpressure can decrease engine efficiency.
- Correctly aligned pipes promote better gas flow.
Avoiding Exhaust Leaks
An exhaust leak can be a major setback for vehicle performance, reducing power and fuel efficiency. MIG welding provides a robust solution to seal exhaust connections securely.
- Ensure the pipe surfaces are clean before welding.
- Apply the right amount of heat to create a solid seal.
- Inspect the weld to confirm there are no gaps or holes.
A thorough weld inspection post-operation ensures longevity and maintains the integrity of the exhaust system.
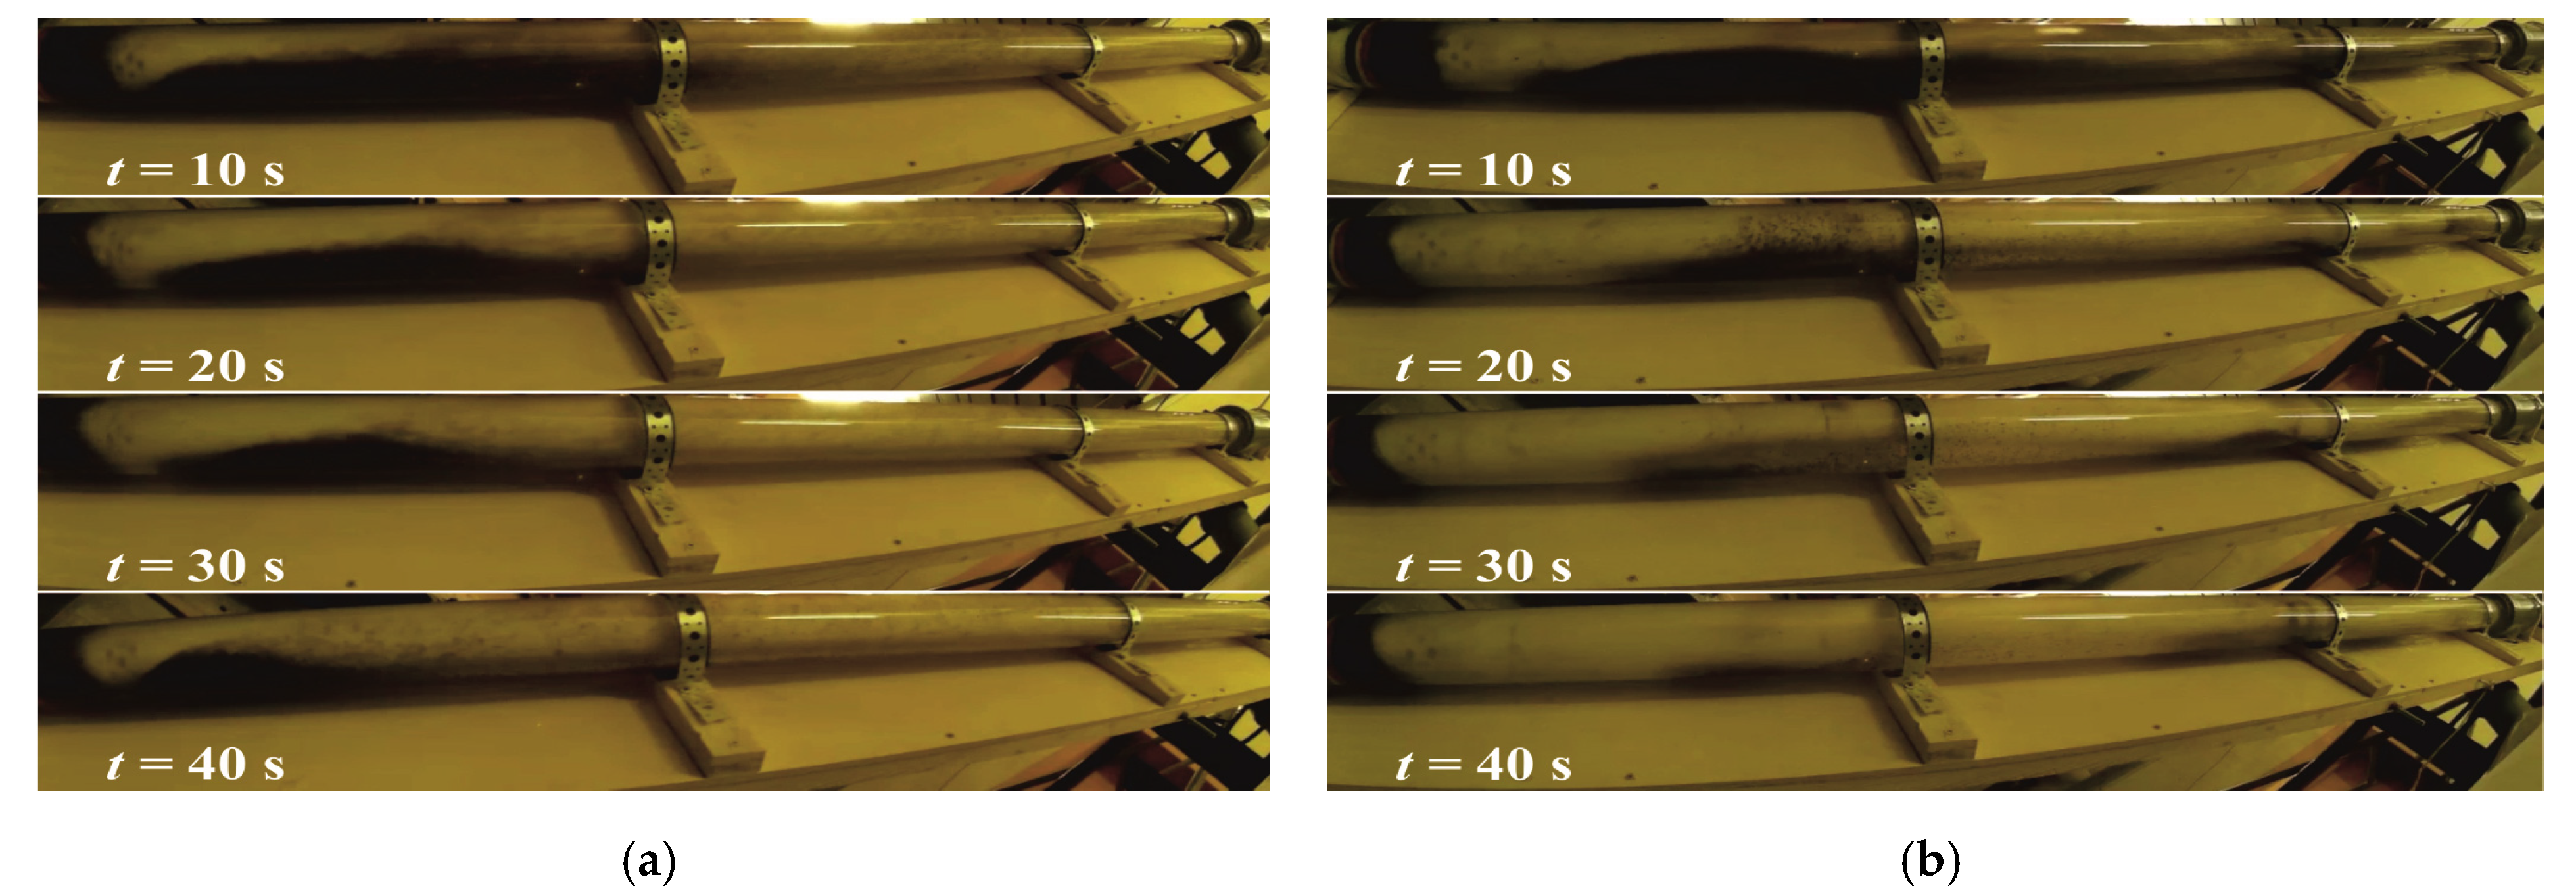
Credit: www.mdpi.com
Maintenance And Care
After successfully MIG welding an exhaust pipe, ongoing maintenance and care are vital. This ensures performance and longevity. Proper treatment of the welded joint is a top priority. Let’s delve into the best practices for maintaining your shiny new welds.
Protecting The Welded Area
Keep the weld area clean from dirt and moisture. These can lead to rust. Use a protective coating, such as high-temperature paint or exhaust sealant. This will shield the metal.
Before applying any coating, let the welded region cool down completely. A clean cloth can wipe away debris. Next, evenly apply the protective layer to guard against harsh conditions.
Regular Inspection
Regular checks are critical for identifying issues early. Look for signs of wear like cracking or rusting.
Create a consistent schedule for inspecting your exhaust welds. A good rule is to check every time you change your oil.
| Interval | Inspection Focus |
|---|---|
| Monthly | Surface rust and minor cracks |
| Bi-annual | Weld integrity and exhaust mounts |
- Use a flashlight to illuminate the welds.
- Inspect after rough driving conditions.
- Monitor for unusual exhaust noises.
With these tips, your welded exhaust pipe can enjoy a long, functional life. Never overlook the importance of these simple steps.
Environmental And Legal Considerations
When Mig welding exhaust pipes, legal and environmental factors come into play. Understanding these can help ensure compliance and minimize ecological footprints. Let’s delve into emissions compliance and the environmental impact of exhaust repairs.
Emissions Compliance
Mig welding exhaust pipes must meet strict emissions regulations. These rules protect air quality and public health. Non-compliance can result in fines and legal action. Before starting, check local laws and vehicle emission standards. Use approved materials and techniques.
- Reference Clean Air Act guidelines.
- Verify emissions limits for your vehicle make and model.
- Choose welding materials that don’t compromise catalytic converter efficiency.
Environmental Impact Of Repair
Welding can affect the environment in various ways. Sustainable practices reduce harmful effects. Proper disposal of old components is crucial. Consider recycling when possible. Use welders with low-energy consumption to cut down on carbon footprints.
| Best Practices | Details |
|---|---|
| Recycling | Minimizes waste by reusing metals. |
| Proper Disposal | Ensures hazardous materials are handled safely. |
| Energy-efficient Welders | Lowers electricity usage, reducing CO2 emissions. |
Diy Vs. Professional Welding
MIG welding an exhaust pipe seems like a task tailor-made for the DIY enthusiast. Its allure lies in the satisfaction of personal handiwork and often a lower cost. Choosing between a DIY approach or hiring a professional is a decision that requires weighing benefits and potential drawbacks. This section highlights the key aspects to consider from both sides of the welding torch.
Advantages And Disadvantages
DIY welding gives you control over the entire process. You can ensure the job meets your specific needs. Moreover, learning a new skill can be rewarding and applicable to future projects. However, the upfront cost of buying equipment can be high, and without proper training, there’s a risk of poor-quality welds. Professional welding, by contrast, offers experience and precision. Certified welders bring expert skills, potentially saving time and avoiding costly mistakes. Yet, this expertise comes with a higher price tag, and scheduling may not always align with your timeline.
- DIY Pros: Cost-saving, personal control, skill development
- DIY Cons: Initial investment, risk of error, safety concerns
- Professional Pros: Expertise, high-quality work, time efficiency
- Professional Cons: Higher cost, scheduling issues
When To Seek Professional Help
Determining the right time to call a professional is crucial. Consider professional help in the following scenarios:
- Complex exhaust designs or high-end vehicles
- Limited access to proper tools or workspace
- Insufficient experience, especially with MIG welding
Always prioritize safety. If any aspect of the welding process is unclear, consult a professional. Their knowledge can also be an educational resource for your future DIY projects.
Cost Considerations
Cost Considerations for MIG welding an exhaust pipe remain central to decision-making. Whether tackling the project DIY-style or hiring a professional, understanding the associated expenses directs your approach. Below, let’s explore investment in equipment and compare DIY versus professional costs.
Investment In Equipment
Starting a MIG welding project requires certain tools. You must consider upfront costs. Here’s a breakdown:
- MIG Welder: Essential for the welding process.
- Welding Helmet: Protects your eyes and face.
- Gloves: Keeps hands safe from sparks.
- Exhaust Pipes: The materials you’re joining.
- Gas: Argon or a mix for shielding.
- Wire: Consumable welding material.
All these factor into the initial investment. Prices fluctuate based on brand, quality, and retailer.
Comparing Diy Vs. Professional Costs
Determining whether to DIY or seek a pro involves comparing costs. Consider:
| Cost Factor | DIY | Professional |
|---|---|---|
| Equipment | One-time purchase | Included in service |
| Materials | Must buy separately | Typically included |
| Labor | Your time investment | Hourly or flat rate |
| Expertise | Varies individually | Guaranteed quality |
| Time | Personal commitment | Convenient and quick |
DIY challenges include the learning curve and time commitment. Professional services price depend on shop rates and project complexity. Weigh these against personal capacity and budget constraints.
Frequently Asked Questions For How To Mig Weld Exhaust Pipe
What Is Mig Welding For Exhaust Pipes?
MIG welding uses a wire feeding gun that acts as an electrode to join metal pieces together. It’s preferred for exhaust pipe repairs due to its strength and versatility. This method is suitable for both thin and thick exhaust pipe materials.
Can You Mig Weld Stainless Steel Exhaust?
Yes, you can MIG weld stainless steel exhaust pipes. It requires a specific stainless steel wire and shielding gas mix, typically with a higher percentage of argon, to prevent corrosion and maintain the pipe’s integrity.
How Do I Prepare An Exhaust Pipe For Mig Welding?
Preparation involves cleaning the surfaces to be welded thoroughly, removing any rust, dirt, or paint. Use a metal brush or grinder for best results. Properly aligning and clamping the pipes ensures a neat and strong weld.
What Are The Best Settings For Mig Welding Exhaust Pipes?
The best settings depend on the exhaust pipe’s material and thickness. Generally, a lower voltage and wire feed speed for thin pipes prevent burn-through. Always test your settings on scrap metal first.
Conclusion
Mastering the art of MIG welding exhaust pipes can be a satisfying and practical skill. By following the steps outlined, you can achieve durable and high-quality welds. Remember, practice is key to perfecting your technique. Keep safety at the forefront, and may your welds be as strong as your resolve to learn.